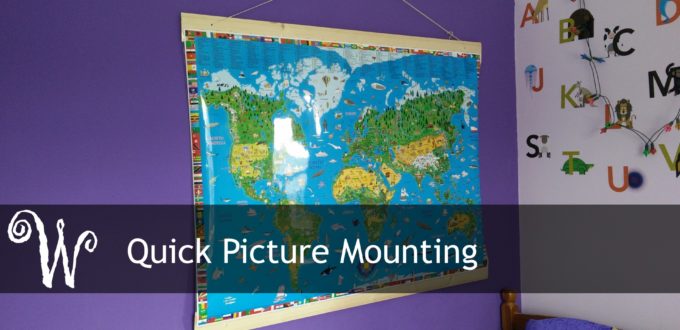
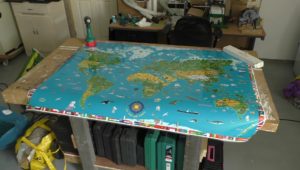
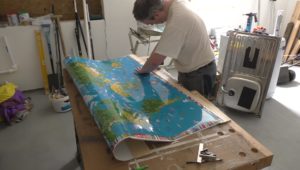
A few months ago my parents bought a children’s map of the world for my daughter. They had the map laminated which is great as it means it won’t succumb to sticky fingers. Unfortunately though it means it’s developed quite a spring while it’s been rolled up in the tube. In order to hang this map I’m going to have to try my hand at picture mounting and build a light weight frame.
I considered going down the full picture mounting route and building a frame for the map. Regular picture mounting would be over kill for this though and, anyway, I didn’t have the stock to build a full frame. I also considered using things like blu-tac, tape, etc. Tape would probably have worked for a while but it would have damaged the paint on the wall and I’d gone to great lengths to fit a picture rail for exactly this reason. I decided therefore to use a very simple top and bottom frame in a style I’ve used before.
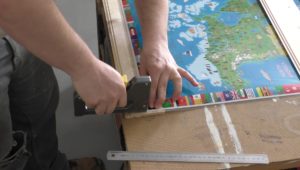
To attach the map to the frame I decided, after a couple of experiments, to use staples. I didn’t want to puncture the lamination so I initially tried gluing the plastic to the timber but, as you can probably guess, glue wouldn’t hold. I think contact adhesive would probably have worked but there’s a chance it would would have melted the lamination as well.
For the frame I used interior timber cladding. I use this timber as a low cost infill for cabinet doors so I’ve often got a couple of lengths lying around the shop. As long as you are careful to avoid rough sections it makes a surprisingly good looking panel. For this project I’ll turn the moulded edge out so that it looks more like a picture frame.
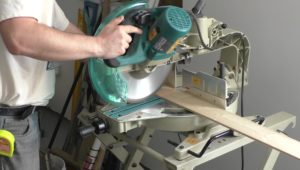
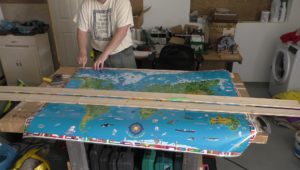
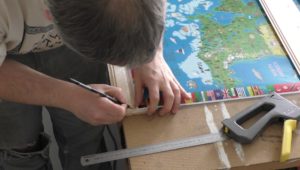
Start by cutting a length of moulding to the same width as the map.
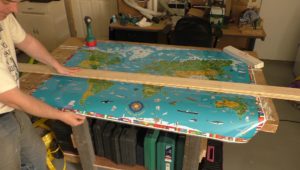
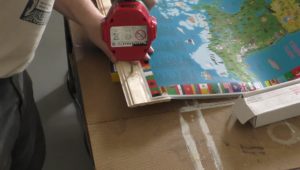
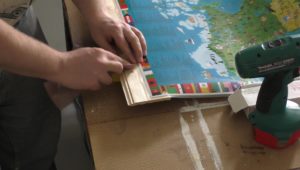
Lay the map down on top of the timber and then staple it down taking care to run exactly along the top edge of the map, this hides the staples.
Repeat the process for the bottom of the map.
Drill a couple of mounting holes and then sand them smooth.
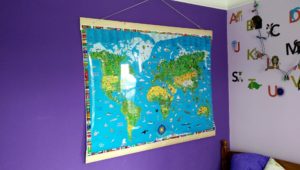
Finally loop string through the holes (picture wire would be better) and hang using a picture hook.
