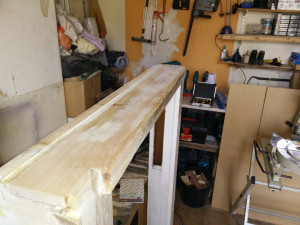
In the fourth part of this series on repairing a window sill I got to the point where I had mostly finished the replacement part for the outer lining. In this final instalment in the series I tidy up the sill, fit the outer lining repair and tidy things up.
As I mentioned previously I forgot to pare down the sill repair before I started making the outer lining patch so the bevel cut was slightly out of place. To prevent this mistake getting any worse I stopped what I was doing and pared down the sill.
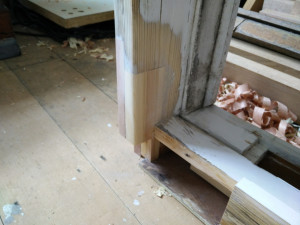
As it would be easier to finish with the outer lining not installed I also filled and sanded the patch. To pare back the patch level with the rest of the sill I just used a sharp chisel and then tidied it up with a detail sander. The frame was too heavy for me to get up on the bench on my own so I had to work on the floor 🙁
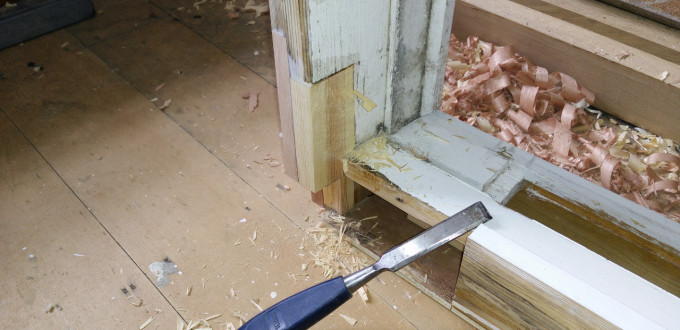
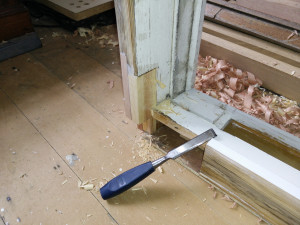
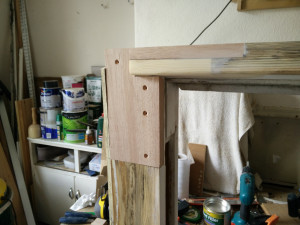
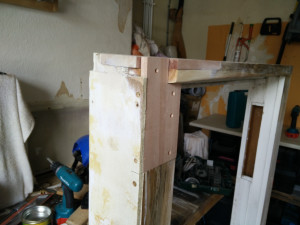
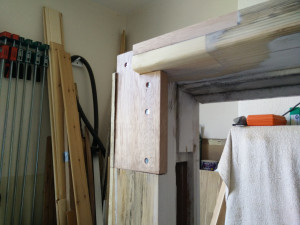
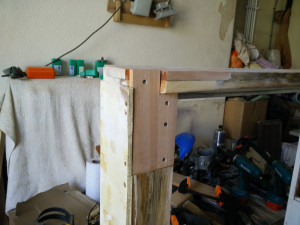
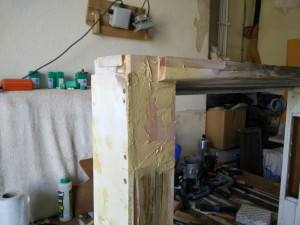
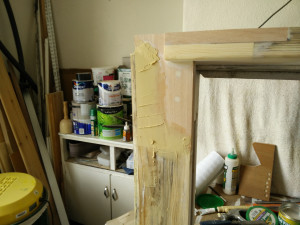
With the sill now finished I started fitting the outer lining repair. The outer lining is normally tongue and grooved to the pulley lining but tongue got broken off as I removed the rotten piece. Rather than try to fit a new tongue or spline I opted to just screw the repair into place. I probably only needed two screws on the front running into the pulley lining but three won’t hurt. I also sunk two in from the side and one into the sill.
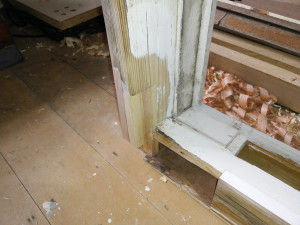
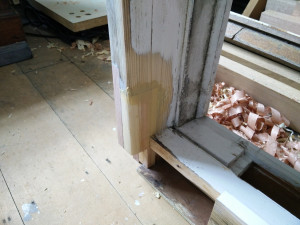
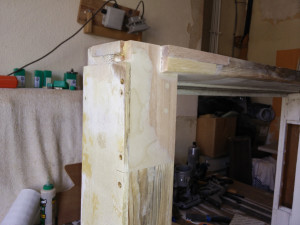
As you can see from the photos I’ve got a small (about 1mm) step between the old and new outer lining piece so I filled the area with some more of the high strength styrene filler. This filler bonds very well to itself and it’s very hard to remove so it’s better to apply it in multiple layers than try to fill the whole lot in one go. In this case I used two layers of filler with sanding between.
I’m really pleased with the end result, you’d not know I’d been. I also filled the slight gap I had between the sill and the outer lining due to my earlier mistake. It’s important to fill this gap to prevent water ingress causing rot in the outer lining.
With everything filled and sanded back all that was left for me to do was reinstate the drip line. Due to the way sash windows are fitted the drip line may or may not be of any use, it depends on how tightly it fits the stone or brick sill the window sits on. It’s worth putting one in place though just to be on the save side.
I simply ran a v-groove bit along the front edge to create the drip line and tidied up the fuzz with a scrap of sand paper. As I’d exposed fresh wood on the drip line I spread some more wood hardener over the area too.
Well that’s it for the repair. Now comes the boring job of rubbing down the old paint and repainting. Hope you enjoyed the series. If you have any comments please leave them below.
