In part three of this growing series on repairing a window sill I cut, shaped and fitted the two largest patch pieces. In this part I prepare and fit the other patch pieces for the sill and start to prepare the outer lining patch.
As with the main patch I chose Meranti for the other patches. It’s semi-durable, straight-grained and defect free so it should be compatible with the pine. It’s also quite easy to work with, most pieces plane freely although you do get the occasionally area with interlocked grain. It sands easily as well unlike pine which can quickly clog paper.
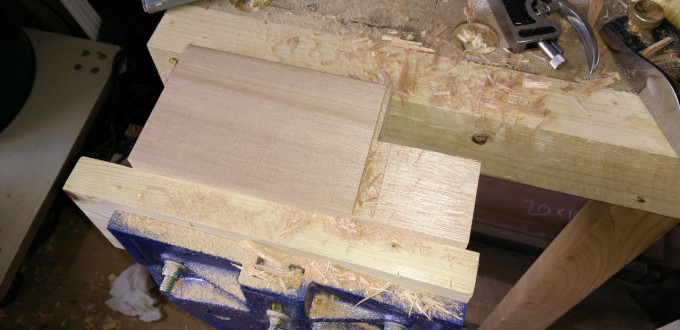
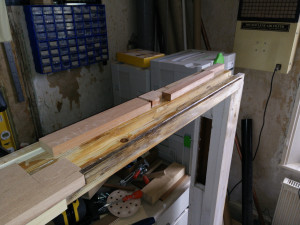
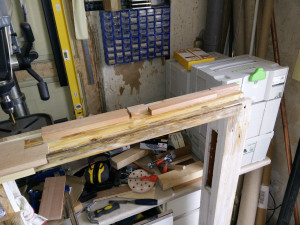
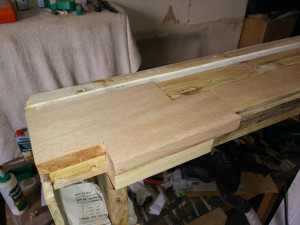
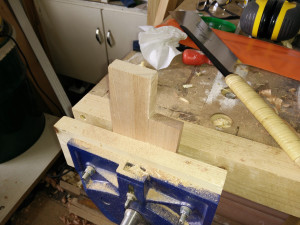
I didn’t have any long scraps that I wanted to use for this job so I used a couple of shorter pieces which I cut down and shaped to fit. The L shaped piece was perhaps a little tight but nothing that couldn’t be fixed with a mallet.
As with the other patches I used epoxy to glue the pieces in. In total I’ve used about 50g of epoxy for a total cost of around £5. I’ve recently started using Tool Station for most of my consumables as they are cheaper than just about anywhere else. They sell a line of products by Ever Build which look like they are going to be a bit rough but are generally excellent. The epoxy I’m using here is this one as sold by Tool Station.
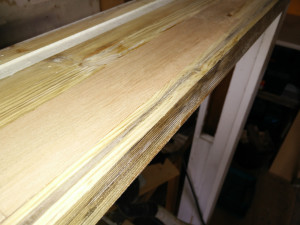
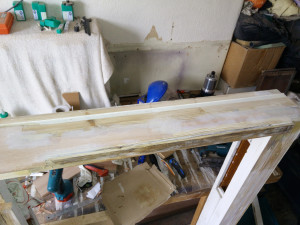
Once the epoxy had set I fitted a new belt to the belt sander and ruined the job flattened the base of the sill. I joke about ruining the job because I inadvertently took more off than I wanted around the drip line. This is a very easy to do with a belt sander so care should be taken. I had to rout a new drip line anyway so this isn’t an issue.
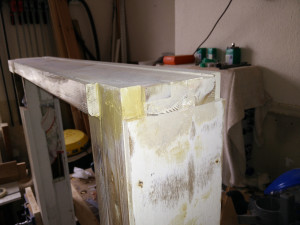
Although I spread epoxy all over the gluing surfaces there were still a few small areas where there were gaps which would let water in so the next step was to mix up a bit of filler. If I want a filler that will withstand harsh conditions I use the Ever Build two-part polystyrene filler as it’s completely indestructible. Actually that’s its main downside, it’s so tough it can be very difficult to flush up the surface of the work, hand sanding is almost impossible.
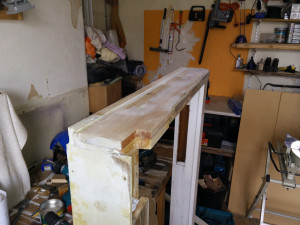
I made sure to fill in any holes at the end of the sill as well as I believe the rot started because water for into the gap left by the spline. With the sill now in good shape I turned my attention to the outer lining which needed its own patch.
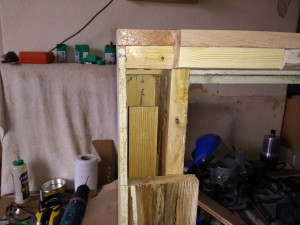
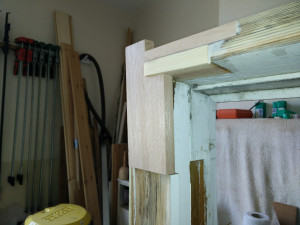
This is a fairly simple piece to make it just requires 9 degree slope to be cut on the piece where it mates with the sill. Unfortunately I forgot that I hadn’t pared the sill patch back flush with the rest of the sill so I made the angle cut a couple of millimetres out of its ideal location. Nothing that can’t be fixed with a little filler but irritating none the less.
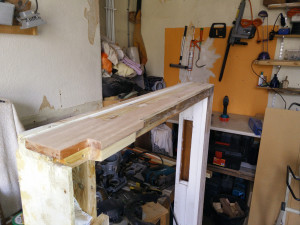
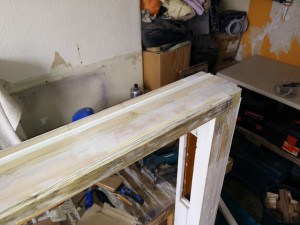
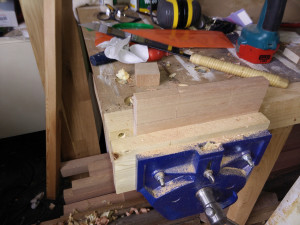
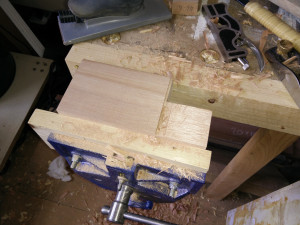
I deliberately left the sill patch a little over sized behind the outer lining so the last image here shows me rebating for that. If I’d cut the patch to the correct thickness in this area there was a risk it would be too weak but taking a little off the outer lining isn’t going to affect anything.
In part five I’ll pare back the window sill patch and attach the outer lining repair piece.
