In part five of this series I joined the long sides together by fitting the rungs and then added some additional bracing at the bottom of the tower to stop it twisting. In this part I build and fit the platform and have a test climb.
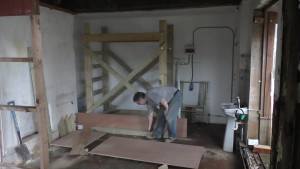
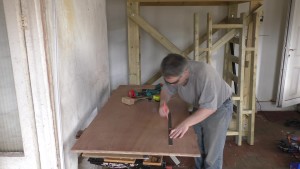
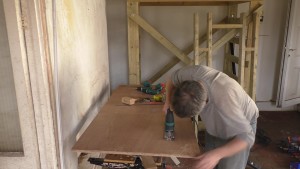
Lay a full sheet of 18mm hardwood ply on the floor and using a track saw cut the long edge of the platform.
In my case I used a track saw I made myself from a piece of laminate flooring and some scraps of ply I had, it got the job done though.
With the long edge cut move the supports under the ply and cut the platform to length. At this point it will probably look a bit small but trust me it’s more than big enough.
Cut the four beams that will support the platform to length (sorry, I forgot to take a photo of this).
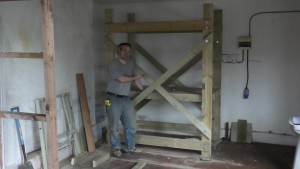
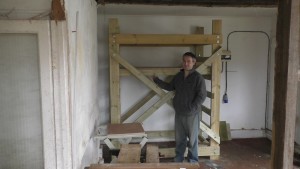
At this point I couldn’t wait to see if it all fitted and it was getting late in the day so I decided to slide the platform in to see how it looked. I nearly got myself squashed at this point because the platform sheet got caught on a door handle just out of shot.
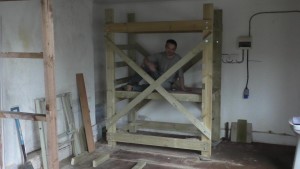
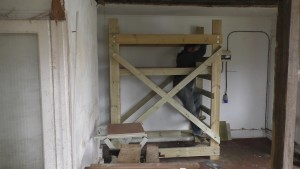
Not content with just seeing it in place I had to climb up on it. Don’t forget nothing is screwed down at this point.
If you did a test fit it’s time to now take everything apart again and mark the locations of the noggins on the centre beams.
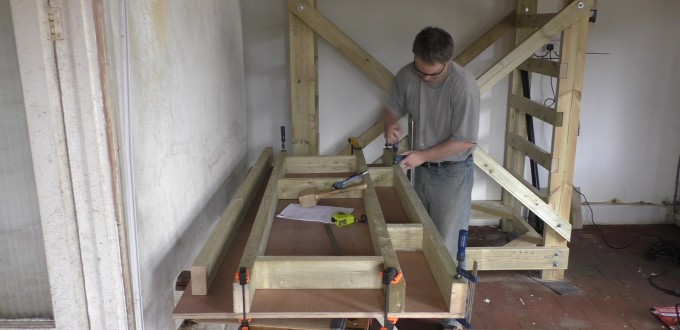
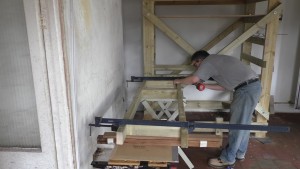
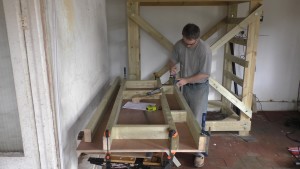
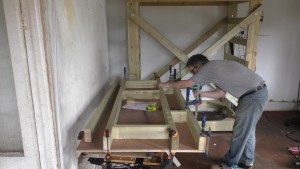
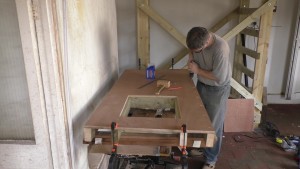
Clamp everything together and drill and screw the noggins into place. Since you are screwing into end grain use longer screws than you normally would, 5x120mm would be a good choice if you can find them 5×100 otherwise. Make sure you accurately position the middle noggin as that defines your hatch opening.
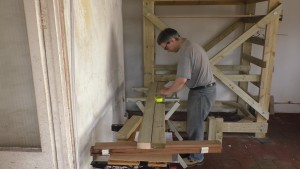
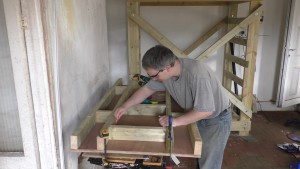
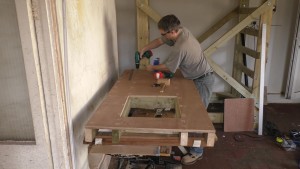
Place the platform sheet on the workbench (yep, I call that my workbench) and clamp down the outer beams. Cut noggins to fit the gaps. Make sure to centre the middle section.
Now screw the outer beams to the centre beams using the noggins.
Accurately centre the beams and mark the location of the hatch by tracing around the opening.
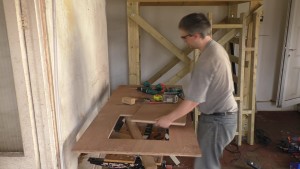
Measure out about 15mm from the marks and draw a new hatch opening. The amount you measure out determines how much lip the hatch has to rest on when closed. Less than 10mm would require too much accuracy more than 20mm risks you not having enough sheet to drill through when attaching the platform to the beams.
Drill holes at each corner and use a jigsaw with a fine blade to cut the hatch free. A circular saw with a plunge feature could also be used.
Take the hatch out and put it to one side.
Take the sheet off the workbench and put the frame back then lay the sheet back down on top. Evenly space holes about every 250mm down the sheet and drill and screw it to the frame, 4.5×50 screws work well.
Don’t forget to countersink the holes as you don’t want to get splinters or catch yourself on a screw head while working.
The platform is now complete. With help from an assistant (the wife) slide the platform into place. Take care at this stage, the platform has to be slid straight into the scaffold. If there is any misalignment it’ll jam and things can rapidly start to go wrong (don’t ask how I know).
Unfortunately the platform gained a little bit of a twist during construction. I’m not sure how this happened as the beams all looked straight before I started. I suppose it could be a slight but cumulative error in the noggins. Whatever the course though it wasn’t an issue and the platform sits flat when it’s got my weight on it.
Now that the platform is in place it would be criminal not to have a climb.
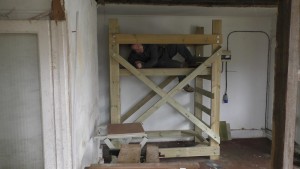
At this point I found out quite how easy it is for 15kg of beer belly to cause the platform to slide. There was no danger but it was quite an eye opener and made me think again about how I would stop the platform from sliding about on the rungs when I was working on it.
Once I was up the platform though I felt more than safe enough to lounge around a bit.
That’s the platform complete and fitted. In the next part I’ll build the dolly frame for moving the scaffold and fit hooks to stop the platform from moving around.
