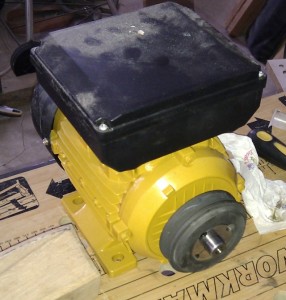
With the pulley mounted to the driven shaft I moved onto the motor. The first thing to do was to fit the pulley to the shaft. The taper bush required a little encouragement to get it started on the shaft in the form of a few light taps with a wooden mallet. Once on it slid freely. I put the pulley a fair way back on the shaft deliberately because I had to mount the other pulley further in than I expected.
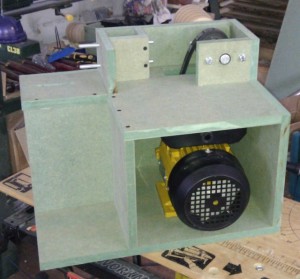
I then set about test fitting the motor into the case. When I designed the machine I didn’t know what lengths belts came in and I had assumed that I could get belts of any size but it turned out that the shortest SPA belt that is made is a 707mm. Because of this I had to add some additional height to the motor enclosure but I left the motor with the feet on the side. When I came to fit the motor though I noticed that the additional height allowed me to fit the motor upright. Shear luck, but it means I get additional adjustment room and don’t need to move the feet. I did notice at this point that the bottom screw that holds the fan cover on actually protrudes beyond the feet! I removed it which makes the fan cover is a little loose but better that than the alternative.
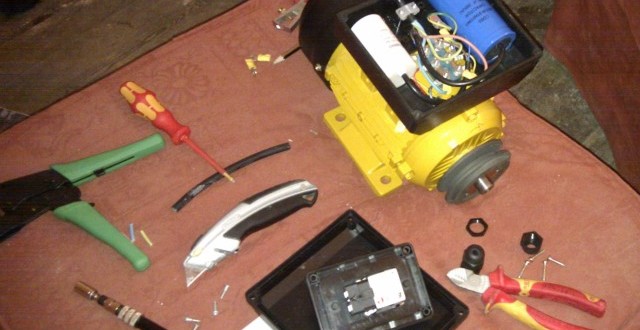
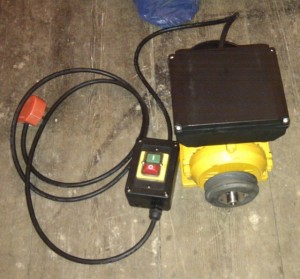
I took the motor through to the living room (which is warm) to do the wiring. After deciphering the Chinglish instruction manual I set about it. The motor seems to be pretty well made but the box on top is less than excellent. The corners crumble away a little bit more each time I look at it and the gland where the wire goes in is missing it’s rubber seal. Ah well what did I expect. I wired it up on 0.75mm extra tough cable.
I wired in a no-volt release switch (rom Axminster – excellent piece of kit) for safety as I didn’t want the sander launching things across the room after a power cut. The first power up was a little scary – my first motor – but everything went fine. I just sat the motor on the floor and there was virtually no vibration and the centrifugal switch seems to be disengaging fine. I also tested that the NVR switch worked.
