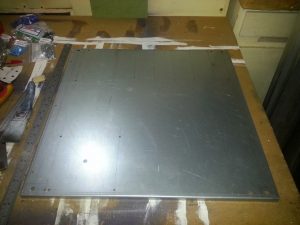
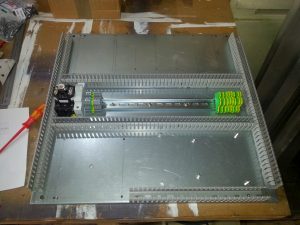
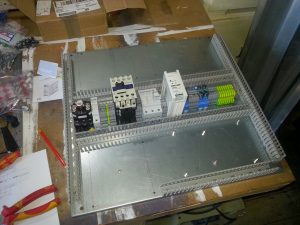
Now that I had the power supply cornered and exactly where I wanted it it was time to mount the other components on the panel.
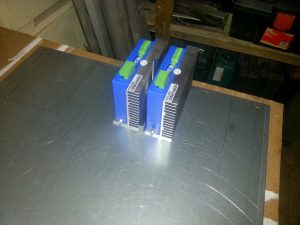
The first thing I laid out for was the VFD and then came the stepper drivers.
The stepper drivers and the VFD go at the top of the case as they are likely to produce a significant amount of heat. Ideally I would have liked to have had the VFD on the right hand side of the case but that would have meant running the low voltage stepper signal cables up past the high voltage, high current VFD cables. So, in an effort to minimize any interference I placed the VFD at the top left. The downside of this location is that I’ll need a significantly longer lead if I want to mount the VFD control panel in the door. There’s a 40mm fan at the top of the VFD which leads me to believe it will produce a fair amount of hot air so I’ll be placing a vent directly above it. If necessary I can also fit a fan to draw the hot air away (the case will have fans at the bottom anyway). I don’t actually know how much heat the drivers will produce but considering the massive heat sink they come mounted on I’m guessing it’s not an insignificant amount. I mounted them with a 10mm gap between drivers which leaves me with sufficient space to add a fifth driver in the future. I could have left a little more between the drivers but I’d rather have a bit more space around the VFD.
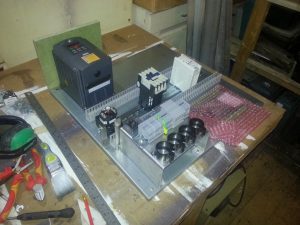
Now that I had the immovable parts in it was time for a quick test fit of the other parts (photo one). I was pleasantly surprised to find that I had a bit more space than my planning layout suggested. This was mainly due to not having to cater for things wobbling about as I was trying to place them I think. I decided to move the central DIN rail down about 10mm to provide a little more space for the bottom VFD air intake. I’m sure the manual probably calls for more free air around the VFD but this is what it’s getting, if it looks like it’s getting hot I’ll stick a fan on it.
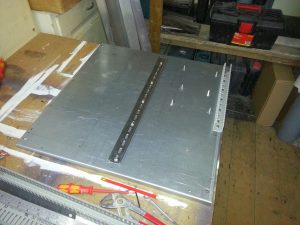
The central rail is, like almost everything else, held on with M4x16 cap head bolts. An M5 washer was required to properly pin the DIN rail into place but all the DIN mounted items happily slide over the cap head. This is actually the one place where I would have liked some pan head bolts. The cap heads work but the clearance is small and really I should have used an M5 or even M6 bolt. Having said that it works and it’s certainly no going anywhere. Once I had the DIN rail in place I mounted the standoffs for the PMDX. I used 15mm standoffs which are over kill, 10mm would be more than enough. Take care placing the holes for the PMDX as there’s very little scope for play. I don’t know if it’s standard but I found the dead area around the mounting holes on the PMDX to be very tight. In particular with the two middle holes the flange on the screw is almost touching either a track or an SMD. It’s so tight in fact I actually considered leaving one of the middle screws out as six screws seems excessive for such a small board. In a final break from the plan I placed a piece of trunking along the bottom of the panel. I perhaps didn’t think this through quite as much as I should have as I’ve ended up leaving the PMDX connectors at the top quite tight..
Now that there was a reasonable amount of stuff mounted on the board it was time to get some power supplied to it. When the build is complete I would like to be able to just unplug everything and take the control panel away rather than have things hard wired into place. I’ve heard that this can be a problem with the VFD, apparently the high frequency power tends to destroy the plugs and sockets, but I’ll give it a go anyway. The final build will probably also sport a 16A connection since the VFD is about 10A, the power supply about 5A and the BOB 1A (this is over estimating on all of them). In reality I think it could quite easily run off a 13A supply but once it’s in the workshop I’ll have 16A supplies going space so I might as well be sure.
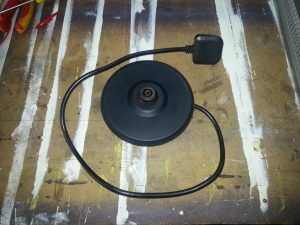
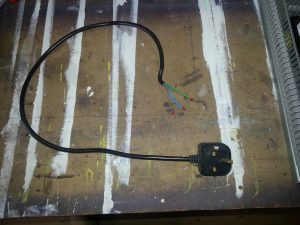
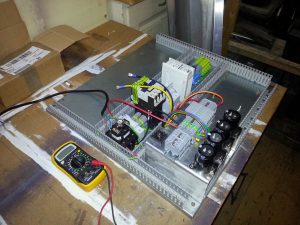
For this first power up though all I needed is a cable with a plug on it. As luck would have it our kettle had sprung a leak and been replaced the day before so I rescued the base from the bin and recycled it. I was surprised see how simple the connection to the kettle is for something that carries so much power (the kettle was 3KW). The cable actually came with spade connectors which I unfortunately had to cut off and replace with bool lace ferrules. For this first power up (picture three) I was only providing power to the transformer so it’s wired straight from the main fuse (8A at the time). As you can see I’ve taped the secondary cables to the contactor and have the multimeter on stand by to check the voltage. As expected I got a solid 48V AC.
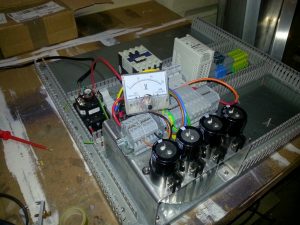
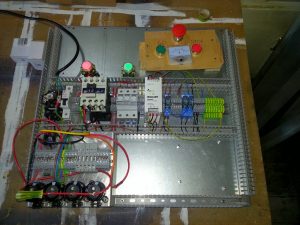
The next step (picture four) is after a power down and connection of the secondary to the rectifier. For this power up I also connected the 150V DC analogue dial to check it worked. As expected I got around 45V DC which is pretty much spot on what I expected after the voltage drop through the diodes in the bridge. For the grand finale I wanted to get the 24V circuit working and latching the contactor closed. This required quite a bit more wiring and took the best part of an afternoon to complete. I also wired in the two indicator lamps I’m fitting. The red shows that there is power to the case the green shows that the contactor is closed and the machine ready to go. I quickly knocked together a mounting board for the start, stop and e-stop buttons and the 25V DC meter. Take care here not to accidentally short anything to the mounting panel, electrical tape is your friend here.

