Now that I had a layout it was time to start the build and the first thing I did was change part of the plan…
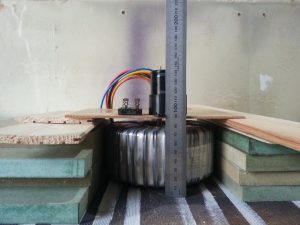
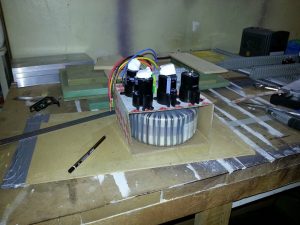
While I was sure everything would fit in with the layout I had I wasn’t exactly over the moon at how tight things seemed to be, in particular I disliked the way the power supply was taking up a huge chunk at the bottom of the case because of a really awkward arrangement of parts. Fortunately inspiration struck and I decided to go vertical (vertical being relative to the mounting board). I noticed that if the capacitors were on top of the transformer the whole pile was no more than 150mm tall. I have about 180mm between the mounting plate and the door so it looked like it should fit quite nicely.
I quickly built up some wood to act as the sides of a frame and stood everything on a piece of hardboard which was the same thickness as the aluminium I’d use for frame. Since that looked good it was time to move onto the next step which was making a cardboard template.
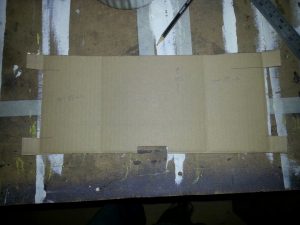
The coil is about 160mm across so I made the top 170mm wide by 160mm tall, the extra width is to allow cooling air to flow up past the coil. I measured the height of the coil at 88mm including the mounting bolt but I figured this was a worst case scenario since at least some of the bolt length would be lost to the mounting plate and washers. In the first photo I’ve just wrapped the card under the coil, this allowed me to draw the coil on the card so that I could place mounting feet for the frame. I placed the parts on top to make sure that there would be space to mount everything and it looked good. It turned out there was actually quite a lot of space at the corners for the mounting feet and they are roughly 25mm square. Now that I had a working template I moved onto the aluminium. I had a sheet of 4mm aluminium from another project I never even started, I guessed it was a bit thick but it was all I had available.
The first step was to mark and cut out the flat shape.
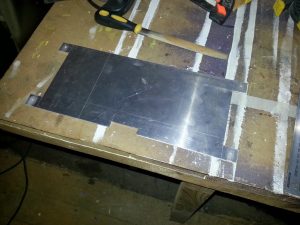
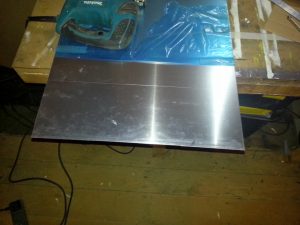
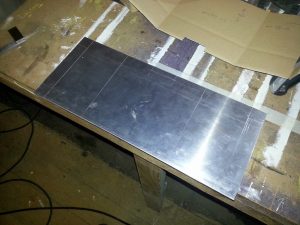
The first two photos show the marking out, it’s a bit difficult to see as everything is a bit shiny and I don’t have any engineers blue. A scribe (or knife), square and ruler is all that’s needed as accuracy isn’t that important here. Scribe on the side that will be face down when you are bending, this is to ensure the piece is the correct final size after bending. A jigsaw with an aluminium blade is all that’s required to cut the pieces out and if you are careful very little additional work will be required. I quickly ran the long edges over the with a belt sander just to remove any sharp bits. The next step is to bend it into shape which required more effort that I expected.
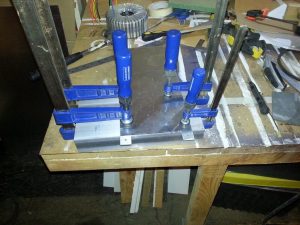
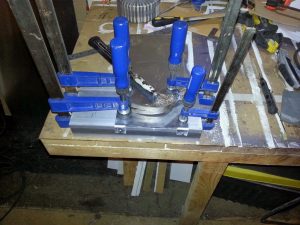
The first two photos show the bending over of the mounting tabs. This was easy and the bend was done over an off cut of the aluminium box section I’m using for the gantry. Place the scribe line about 0.5 to 1mm beyond the edge of the box section and then initially hit straight down with the hammer. The initial hits straight down soften the aluminium making it easy to complete the bend and also help to stop it from slipping in the clamps. Lots of gentle blows work a lot better than one almighty great wallop . The scribe is placed a little beyond where it would ideally be to allow for the spring back of the metal, this ensures the mounting feet are actually 90 degrees (or very slightly more) to the sides.
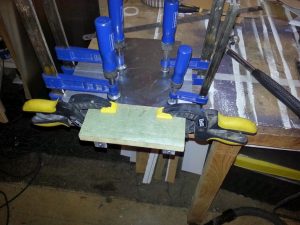
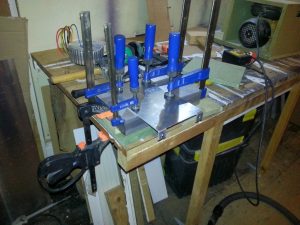
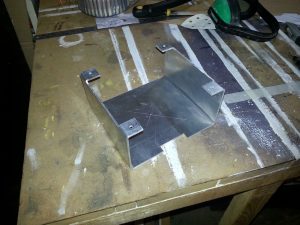
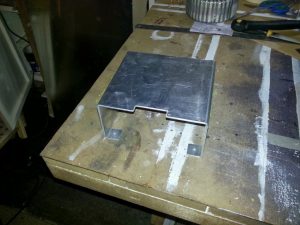
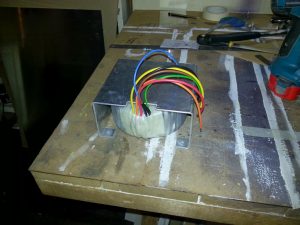
Photos three and four show my efforts to bend the sides down. This was quite challenging due to the thickness of the aluminium I was using. I initially tried to use a piece of MDF to spread the load from the blows but it wasn’t having any of it so I then stepped up to my lump hammer and beat seven bells out of it. The sides got a bit bashed up but there was no other way I was going to complete the bend in that thickness of material. As you can seen in photos five and six the end result is fairly good, in fact one side is nearly perfect the other requires a small amount of bend to get it into the mounting hole. This is actually a bit of a benefit because it means it doesn’t just fall off the mounting plate if the nuts are on the bolts. I rubbed down where the transformer cables would come through the plate and gave it a test fit. All was good.The first two photos show the bending over of the mounting tabs. This was easy and the bend was done over an off cut of the aluminium box section I’m using for the gantry. Place the scribe line about 0.5 to 1mm beyond the edge of the box section and then initially hit straight down with the hammer. The initial hits straight down soften the aluminium making it easy to complete the bend and also help to stop it from slipping in the clamps. Lots of gentle blows work a lot better than one almighty great wallop . The scribe is placed a little beyond where it would ideally be to allow for the spring back of the metal, this ensures the mounting feet are actually 90 degrees (or very slightly more) to the sides.

