January was a busy month in the workshop. I did more turning than I have done in a long time and, for the first time, I really enjoyed it because I knew what I was doing. There is fun to be had learning to do something new but I believe more fun is had honing the skills you already have to perfection. Once beyond the heavy dig in stage turning becomes immeasurably more pleasing.
I will start off by describing the piece that caught my imagination the most. It’s quite a simple little piece but, I think, very beautiful. The idea for it came from my partner who mentioned a similar item her mother has. She sketched me the basic shape and I immediately scuttled off to make one. I wasn’t quite sure exactly what the piece should look like in terms of proportions so I mounted up a piece of fairly knot free pine and roughed one out. The piece called for a hole to be bored down into it to hold a dried flower. I have bored such holes with a spindle gouge plenty of times but I decided to try out the Jacobs chuck that I got for Christmas. The largest (wood) drill bit that I have currently is a rather tiny 8mm so that was the size of the hole I drilled. Fortunately, that was an appropriate size for the piece.
[sorry, I lost the picture of pine bud vase that should go here]
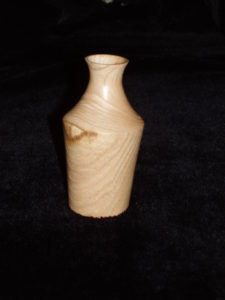
Now that I had the basic shape right I decided to make another from Sweet Chestnut. The pine piece was too small so I scaled up the design in my head and rattled off the piece below. The photograph is terrible but the grain structure on this piece of branch wood is really beautiful.
[I also lost the picture of sweet chestnut bud vase that should go here]
It was at this point that I realized I was really quite good at turning these little vases and that I liked the look of them. I turned out another in a piece of slightly burred beech which I believe is one of the best pieces I have turned to date.
There was something nagging at me however. The vase didn’t feel finished at the top. The shape is nice but the lip is too severe and catches the eye drawing it away from either the flower or the body of the vase. I decided to make a modification to the design and produce a fluted top. I made three such vases from Sweet Chestnut. One was given to my partner, one is to be sold and the third is to be used as a prize in a raffle. The vase that is to be entered into the raffle was the first where I have added any decoration after turning. I scored two lines near the base and then burnt them in with garden wire. I wasn’t sure how well this would work but seeing the results I’m glad I did it.
For Christmas I also received a DVD on wood turning techniques which I watched over a couple of nights. I was interested in seeing a professional turn as I wanted to hone my technique and pick up some new ideas. All I can say was that I was amazed at the speed a professional can turn at. Initially I was a little depressed that I had been turning for nearly a year and still had so much to learn. I then started trying out some of the techniques shown in the video and found them to be really useful. What the video showed me was that I could be a lot rougher with the wood then I thought I could and that sometimes being firm can actually help with the turning.
Once inspired by this video I quickly produced a number of the pieces shown to my own design. I turned my first captive ring:
And then quickly followed that up with another better one on a spindle:
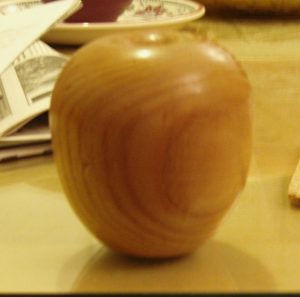
I then turned an apple which still needs a stalk (10 years on it still needs a stalk!):
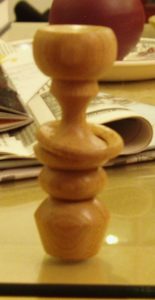
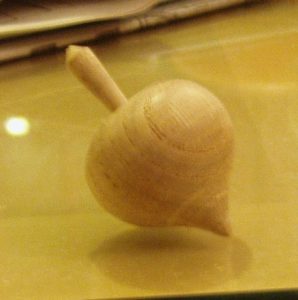
And a little spinning top:
I didn’t actually intend to turn the spinning top I was just cleaning up the end of a rough piece of wood and noticed there was space for it.
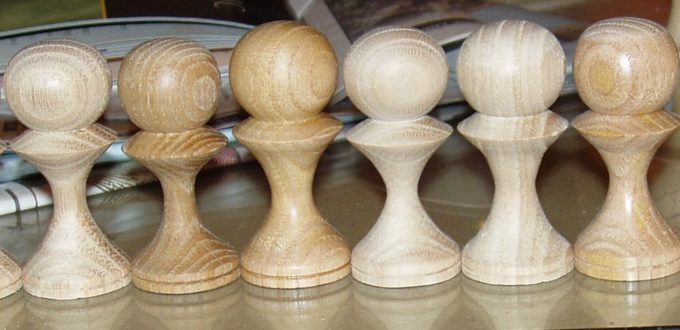
One of my long term goals is to turn a chess set. One side will be Sweet Chestnut the other Elder. The two woods are similar in colour but the texture is different enough that you can tell the pieces apart. This month saw the completion of the Sweet Chestnut front line:
