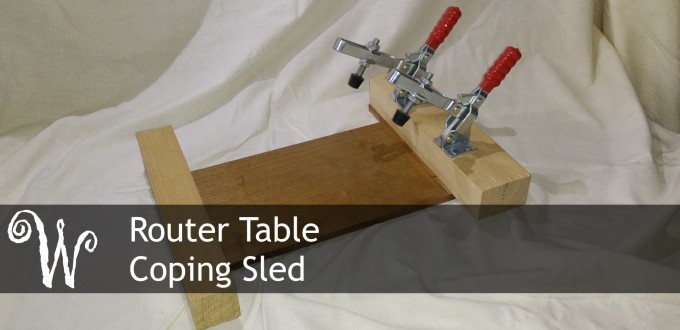
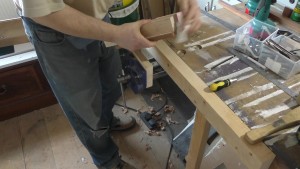
To my mind one of the most useful jigs you can build for your router table is a coping sled. With a coping sled and a matched pair of cutters you can quickly and easily make elegant joints that would otherwise be very labour intensive.
Coping Sled Introduction
You most often see coped joints on cabinet doors and on window bars (muntins) where they provide a strong joint with a good deal of glue area. In this article I give step by step instructions on how to build a coping sled and ensure that it is accurate. Building this jig should only take a couple of hours.
Materials
- 400x250x8 mm Hardwood or hardwood ply
- 80x50x300 Softwood
- 50x50x300 Softwood
- 2 Holddown clamps
- Wood glue
- Screws
Tools
- Hand or pillar drill
- Clamps
- Glue
- Mitre saw with trench cutting ability
- Router or router table
Preparation
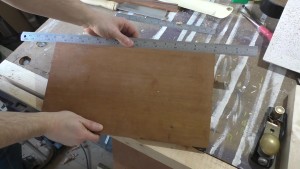
For this build you’ll need to start with a good quality piece of hardwood approximately 40 by 25 centimetres and around 8 millimetres thick. The exact dimensions aren’t critical I just found this to be a good working size. I used hardwood but you could also use a quality hardwood ply, the important thing is that the wood doesn’t move after construction.
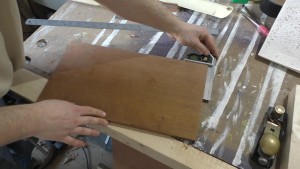
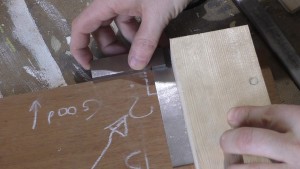
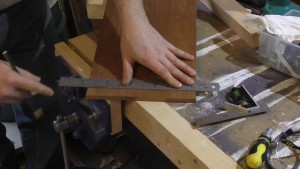
You need to make sure that one long edge is perfectly straight and the two short edges are perpendicular to it. The long edge on my board was already straight and the two short edges were cut on the mitre saw referencing the long edge.
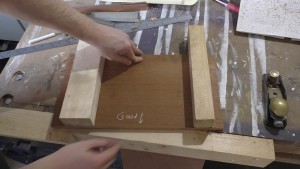
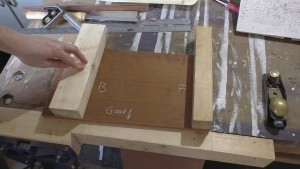
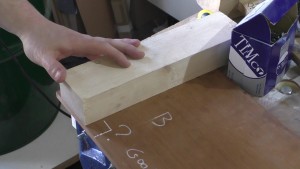
I marked the good edge and then cut two lengths of timber which will act as both fences and handles on the finished piece. I then selected a front and back for the board and marked that also. The back fence piece is about 80×50 and the front about 50×50.
Back Fence
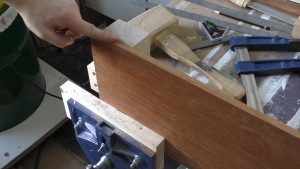
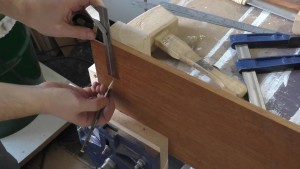
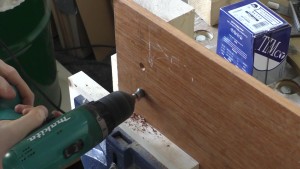
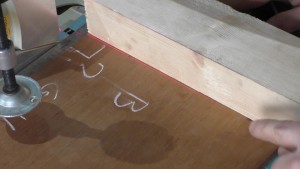
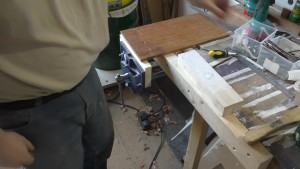
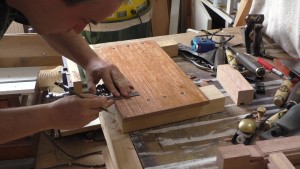
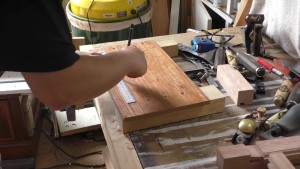
Clamp the base board and the back fence piece in your vice and make sure that two are aligned on the good edge – this is important for a later step. Now drop a line down from the good edge and mark locations for screws. Make sure you place the first screw at least 50mm in from the good edge.
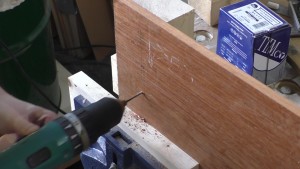
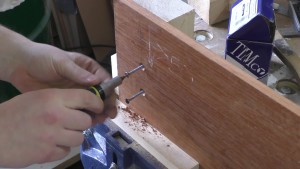
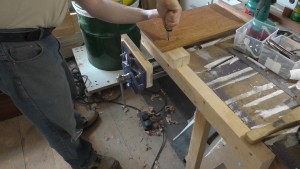
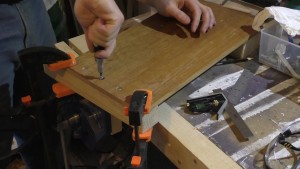
In total I want three screws holding each fence in place but because I also want to hold the piece very firmly in the vice while I work I can initially only put in two of the screws. Since the screws go in to the bottom of the base board I make sure they are deeply counter sunk.
Probably the most important setting on a coping sled is the angle between the back fence and the long edge. As you can see I’ve not paid much attention to this yet and that is because I have a little trick coming up.
Before I can set the fence angle though I need to add the final screw in the back fence.
Setting the Back Fence Angle
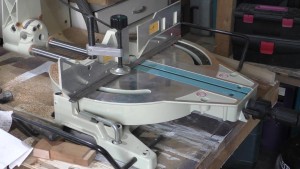
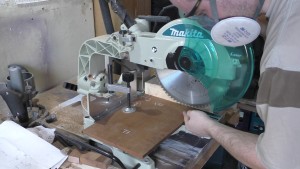
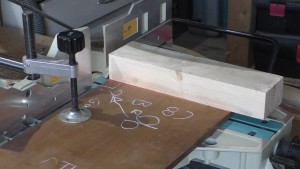
To set the fence angle I’m going to place the coping sled on the mitre saw and carefully trim the front of the fence while it’s referenced against the long edge. For this to work your mitre saw needs to be set up accurately and be capable of trench cuts. For the trench depth aim for between none and very shallow. A shallow trench is not a problem and may even be a benefit as it gives some relief in the sharp corner. To get a complete cut when trenching most mitre saws will require parallel blocks to move the work piece away from the fence, I used a steel bar here which I remove before cutting.
As you can see here if you are fairly accurate when you clamp up the back fence you’ll only need to take the thinnest of slivers off. I also managed to get the trench cutting set up so that I got the lightest of trenches along the bed of the coping sled.
Final Fence Fix
If I was building another sled this next step is one that I would do differently. For this sled I removed the screws and spread glue on the back fence before screwing it back down. The problem with doing this is that there is a risk, albeit small, that the fence won’t go back exactly square. In this case the screws did their job and aligned the fence square but considering how easy it was to trench cut the fence I should have glued it first.
Front Fence
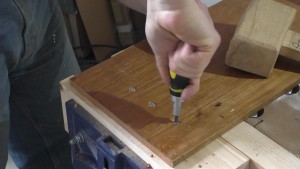
Now I turned my attention to the front fence. This fence is not a critical as the back fence and only needs to be aligned flush with the long edge of the base board. Start by laying out for the screws and, as before, making sure they are well counter sunk.
Centre Relief
A coping sled has a section cut out in the middle of the long edge for the work piece to overhang the sled and make contact with the bit. The amount you cut out depends on how large a router cutter you intend to use with the sled. Too small and the sled may interfere with the router bit. Too large and there may be too much overhang on the work piece. I went with 50mm as what felt like a good compromise.
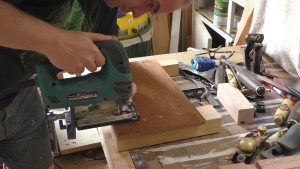
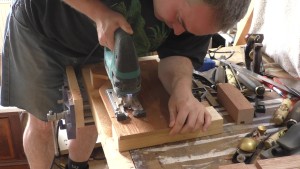
Lay out for the cut out on the bottom of the sled and then roughly cut it out with a jigsaw or bandsaw. Don’t worry about getting right up to the line any excess will be cleaned up in the next step.
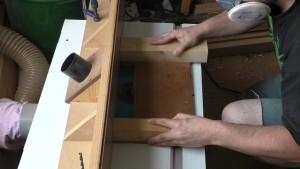
To clean up the cut out fit a 12mm straight cutting bit into the router table and set the fence to 50mm. Carefully run the front fence down the bit freehand and then run the sled along the router table fence. Finally carefully trim the back fence freehand. When working freehand like this be very careful and take only the lightest of cuts.
Clamping
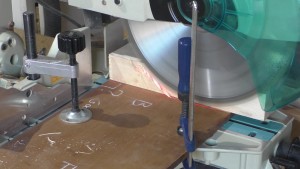
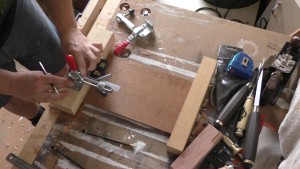
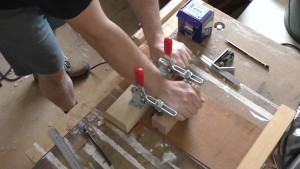
With the main body of the sled now built it’s time to add some clamping. There’s no end of different ways you can hold down your work but in the end I went for toggle clamps.
Finding these at a reasonable price wasn’t as easy as I expected. They seem to most often be used for metal work so they tend to be a bit on the small side for woodwork and the larger ones were expensive. In the end I found a set of four for a decent price on AliExpress.
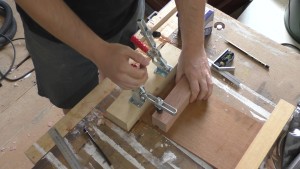
As far as clamping goes they can exert more than enough pressure to hold the work piece in place. The only real downside of them is that it’s quite fiddly to adjust the height of the feet.
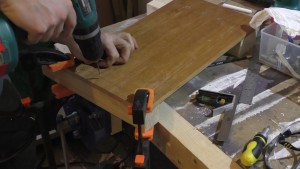
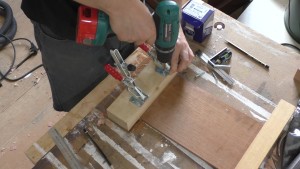
I drilled the mounting holes for the clamps and then screwed them down. As I’ve not used toggle clamps before I through I’d give them a test and see how well they hold onto the work piece. The answer is very well.
Testing
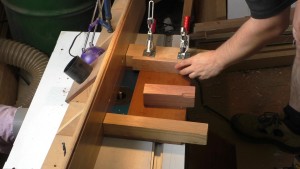
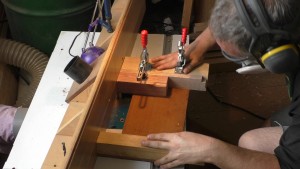
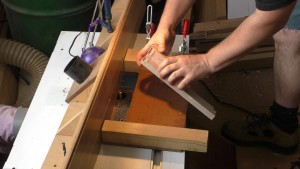
All that was left to do now was run a test piece. For this first test I just used the straight cutting bit that was already in the router. Generally a sled like this is used for making cope cuts with a matched pair of cutters. To prevent damage to the back fence I put a sacrificial board up against it
Conclusion
Over all I’m really pleased with this build. Since shooting this video I’ve built a number of sash windows each of which requires dozens of coping cuts all of which I carried out with this jig. If I had to make an improvement it would be with the hold down mechanism, it works but it’s frustratingly slow to reconfigure for different thickness’s of timber.
