In part two of this series I looked at some calculations and drew up a parts list. In this part I will start the build by constructing the sides of the tower.
Prepare the Legs and Stretchers
The legs and stretchers are the most import part of this build as everything depends on all four of them being identical. I’ve used 47x150mm (2″x6″) timber for the legs and stretchers which was perhaps a little larger than needed. I think 47x100mm (2″x4″) would work just as well for a tower of this height but in terms of cost the difference is only a few pounds so I went with the larger material to be on the safe side
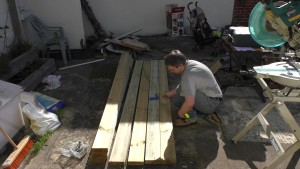
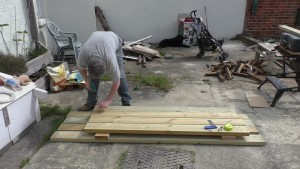
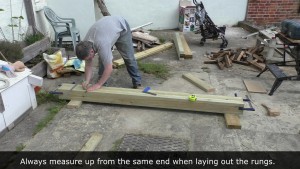
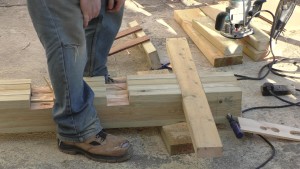
First, square off one end of each piece of timber and then measure and mark them at the correct length. Lay the pieces side by side to help prevent mistakes. In the photo below I’m laying out the legs, the stretchers are stacked up next to them.
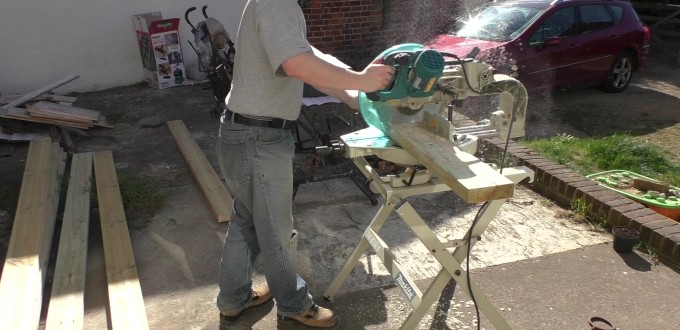
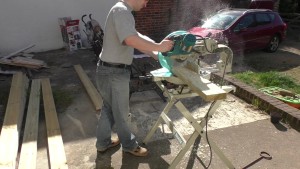
Once you are happy they are all marked up correctly cut each piece. Normally when I need multiple pieces all exactly the same length I will gang cut them (e.g. cut all the pieces at the same time) but the legs in particular were proving difficult to get on the saw more than one at a time.
Layout the Parts
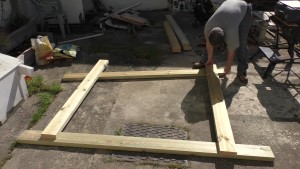
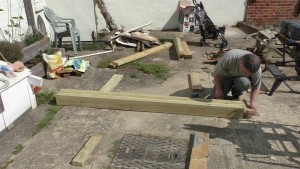
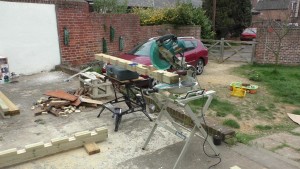
Unless you have an enormous workshop or work area you will probably end up building one side at a time like I did. Lay two legs down and then place the stretchers over them. At this point I was a little surprised at how large the finished item was going to be.
Build Some Simple Jigs
This whole scaffold is bolted together (mainly using 10mm bolts) and it’s important to make sure that the holes through which the bolts will run are perpendicular to the face of the timber through which they are running. Also, the holes should also be a good fit for the bolt such that you have to lightly tap the bolt through.
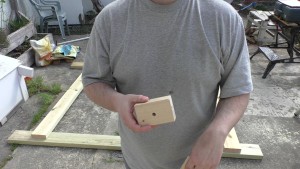
For regular sized pieces of timber the easiest way to get a hole square to the face is to stick it on the drill press but clearly this wasn’t going to work here, at least not without a lot of messing about. My solution was to find a scrap of wood and drill a 10mm hole in it on the drill press and use that as a drill guide for the scaffolding.
Once the drill was 20 to 30mm into the scaffolding timber it would naturally run true so I could remove the guide block and drill all the way through the two scaffolding pieces in one go. One problem with using a guide block such as this is locating the drill bit at the start. I over came this problem by first counter sinking where I wanted to drill. The countersink bit gave a good indentation that the drill bit would naturally fall into.
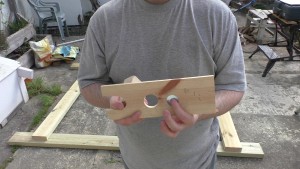
The other jig that is invaluable is a guide for the Forstner bit used to counterbore for the washers and bolt heads. This is simply a piece of thin scrap material with the appropriate sized hole drilled in it. I drilled two different sized holes as the smaller one was only just large enough for the washers I was using. In the end I only needed the smaller hole.
When you want a counterbore place the jig on the timber, press down firmly and insert the Forstner bit. Once the Forstner bit is sunk a couple of millimetres into the work piece the jig can be removed to aid chip removal.
Prepare the Stretchers
Now mark up the stretchers as per the plan and drill through them. The holes should be 75mm in from the end and 35mm in from the edge. The level of accuracy you’ll be able to achieve won’t be good enough that the pieces will be interchangeable so exact hole placement isn’t vitally important.
Cut the Rung Sockets
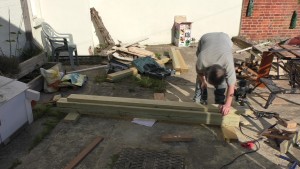
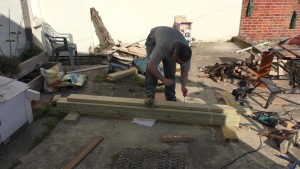
Each leg has eight rungs that are let into sockets cut into the leg. Now’s a good time to mark up and cut those sockets. Start by laying all the legs on their side and carefully aligning what will be the bottom / foot end. Use a mallet to tap on any legs sticking out proud to bring all the pieces into perfect alignment.
Once the bottom / foot edges are all aligned clamp the leg pieces tightly together at both ends. I found raising the pieces up on a couple of scraps made life easier. Using a square and a ruler mark the location of the rung sockets. It’s important that you always measure from the bottom of the leg every time. Don’t try measuring from rung to rung or you’ll end up with a compound error.
At this point I tried routing out the sockets but even with a 2.2KW router and a 1/2″ bit it was clear that it would take a long time to do it this way. The solution was to use a jigsaw to cut a couple of millimetres inside the layout for the socket and then chisel out the scrap with an old screwdriver.
UPDATE: If you are building your own version of this scaffold I suggest reading to the end where I fit the guard rail. The final design requires an additional rung at the top of the legs and it would be much easier to cut that at this stage.
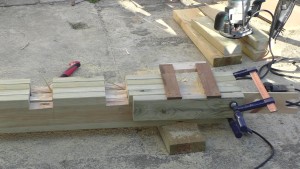
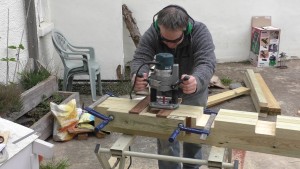
With the sockets roughly cut out gang up the leg pieces again using the rung marks for alignment. I then quickly made a guide bush routing jig for cutting the sockets. It’s simply two parallel pieces of timber spaced the width of the rail plus a little for the bushing. I say a little because it depends on the router bit and bushing combination you are using.
Assuming your jig is set up correctly you should now be able to slide a rail down into the first set of sockets.
Leave this first rail in place while you rout the other sockets as it will ensure that legs are held firmly in alignment. I was so confident the first rail would hold things correctly aligned I raised the legs up to make routing easier.
Even though I’d gone to great lengths to make sure the legs were all aligned when I marked up and at all the other stages of preparation there was still a slight (upto 1mm) difference in position. Since the legs were now a good bit lighter I paired them up and trimmed the bottom. I used a scrap of rung material to ensure they were perfectly aligned to each other.
Strictly speaking this step probably wasn’t necessary but I find it’s good to maintain accuracy everywhere you get an opportunity to. I should point out that after this operation you should treat the legs that were trimmed together as a pair that will make up one end of the scaffold.
In part four of this series I attach the stretchers and the cross bracing and complete one side of the scaffold.
