The idler carriage was the first part of the belt sander that I actually put together because it involved solving almost all of the main problems with the machine in one compact piece. The main problem I felt I was going to face was mounting the bearings and getting them aligned fairly perpendicular to the carriage. I drilled 22mm holes in the two side pieces of the carriage and slid the bar in as a test run and it became immediately apparent that this wasn’t going to work without me building in some adjustment mechanism for the normal bearing.
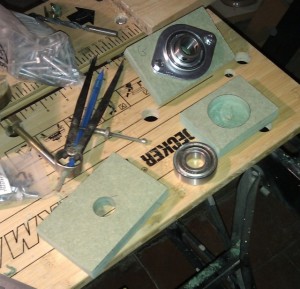
A quick re-think of the design lead to the pieces shown in the photo below.
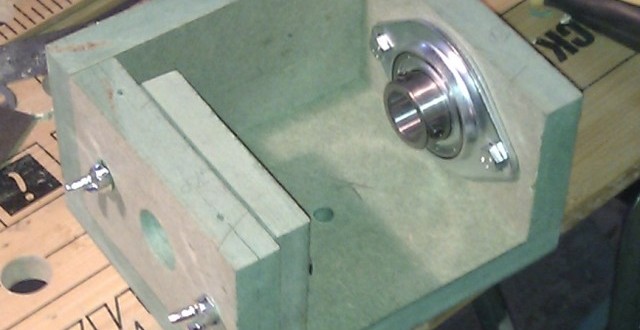
The housed bearing is mounted into one side piece which required drilling it out at 50mm by 5mm deep and then hand carving a slight bevel to fit the housing. The plain bearing will be a friction fit into the piece to it’s right.
The plain bearing has an outer diameter of 47mm and the closest Forstner bit I have is 45mm so I drilled it at 45mm and started sanding. I did, eventually, get the bearing to fit but I discovered that I hadn’t drilled the housing deep enough on one side so the bearing wasn’t sitting flush. Faced with the prospect of drilling it out again and more tedious sanding I just drilled all the way through and filed the hole to the correct size. I then drilled some 6mm holes either side of the bearings (later increased to 8mm) and 10mm holes through the side of the carriage to give me 2mm of adjustment. Unfortunately because I don’t have a pillar drill I was unable to drill the holes terribly straight which has affected the adjustment a little. Some tweaking sorted that though.
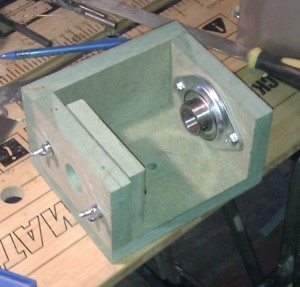
The above photo shows the idler carriage all put together. I’ve currently got the bearings held in with wingnuts so I don’t need to go looking for a spanner. They will be replaced with nylock nuts when I’ve got some.
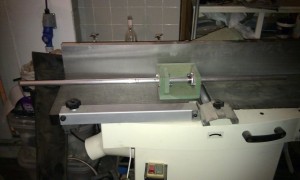
At this point I’d been out and got some 8mm nuts and bolts. I had planned on using 6mm for the plain bearing but everything else needed 8mm and I didn’t want to have to buy two different sizes. One of the problems I felt I was going to face with this build was tracking the belt in the vertical plane since the design has no adjustment for this. The solution I came up with was to insert the full length of bar into the bearings and then sit the carriage on the planer and ensure there was a constant distance between the bed and the bar. It worked fairly well as a system and I think I’ve got less than 0.5mm run-out at 150mm extension which I think will be good enough.
Note, I actually reversed the set up shown in the above photo so that I could clamp the carriage to the planer bed while making adjustments.


